

Jiesi Huang, The Last Crystal’s 2D Animator, on her snake animation in After Effects
I’ve been self-learning and practicing animation, and I know that I will learn faster if I have a goal to achieve. So, I hopped onto my good friends’ bandwagon to develop their co-op indie game The Last Crystal.
(By the way, like The Last Crystal on Facebook here and sign up to receive email updates here. It’s gonna be awesome)
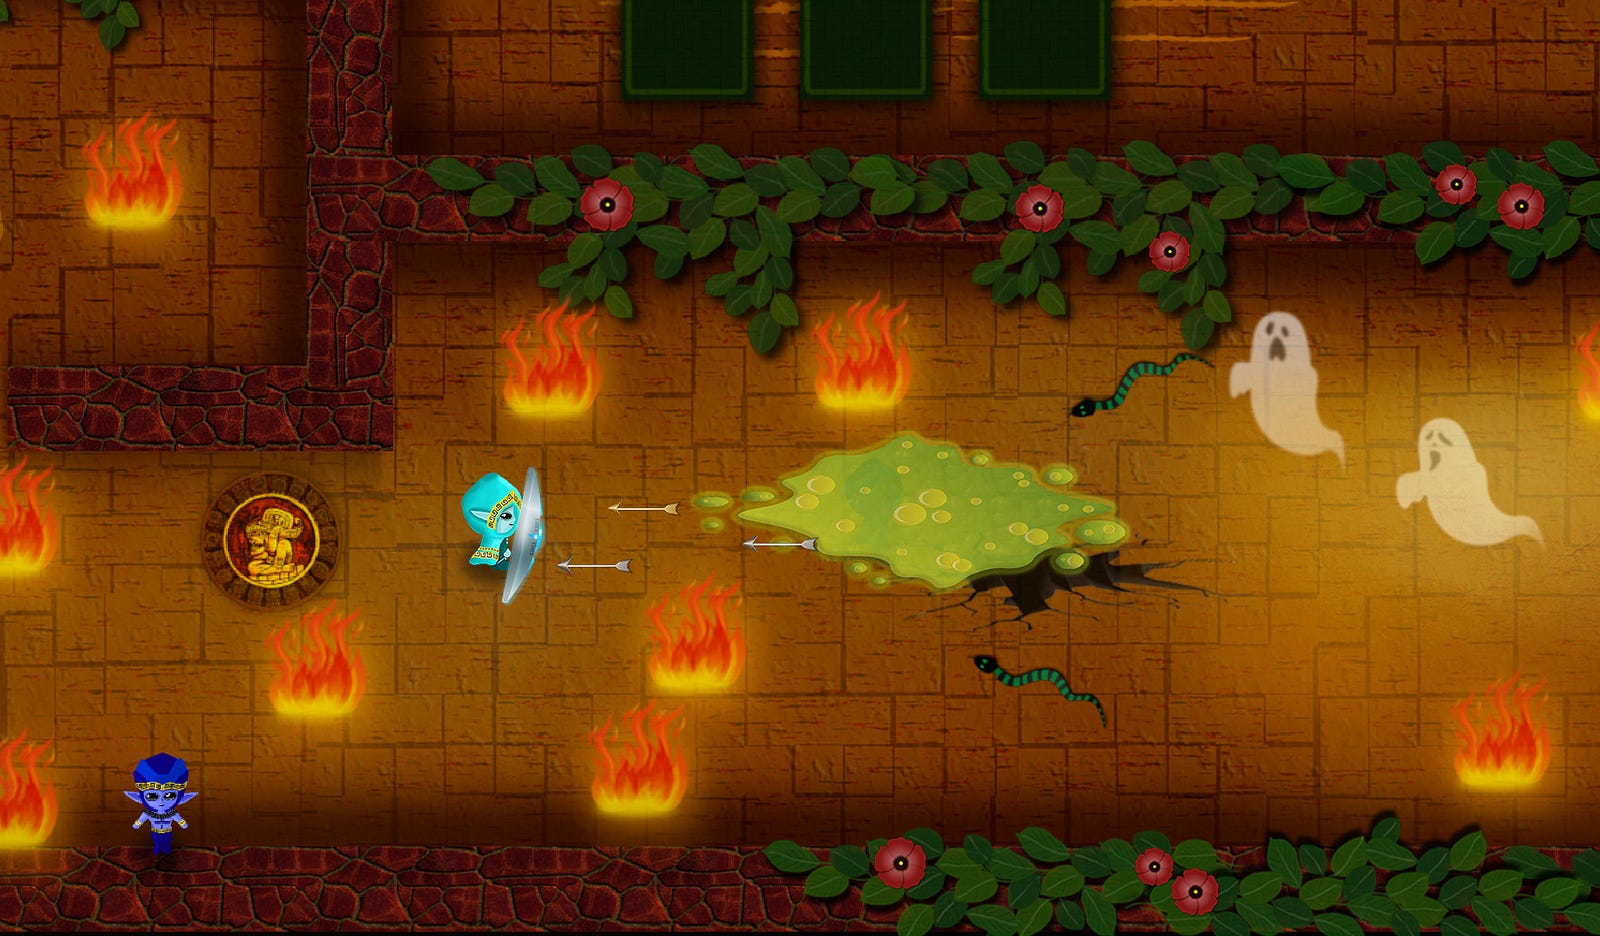
I’ve done animation before, but usually in the form of videos or gifs, and this is my first time making sprites for games. So I started with one of the assets that I thought would be easier, in order to build a workflow that I will use for the other assets. So the little wriggly snake was my first test.
Finding out how to make the wriggling motion
Since the snake was not made up of a single path, there was no direct way to animate its curves without drawing every frame manually. Thus, I looked for ways to automate this.
RubberHose
The $45 RubberHose is a plugin I looked at, as I know it is good for animating limbs. I wondered if it would support multiple curves on a single object. However, it seems that RubberHose is mainly for humanoid figures, and it does not curve things into an S shape. I thought of separating the snake into two or three portions, animating them as separate parts and then joining them together, but that feels like it could be a hassle.
Duik
I also considered the free Duikplugin. It has a Bezier IK effect that allows bending things into the S shape I need. It is used to animate things like chains and ropes. However, it has to be applied on a series of layers. (e.g. each dot is a layer), so this didn’t work for what I wanted to do, as the snake would be drawn on a single layer.
Omino Snake
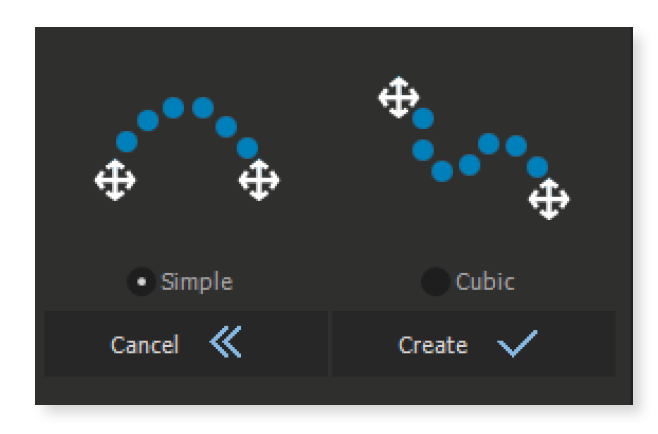
Then, I found this Youtube tutorial for the omino snake plugin. It allows objects to bend along a path. This is helpful for giving bendy curve animations to an object that is not a single vector path. Awesome! (Get the plugin free here: omino suite)
Basically, make a new solid layer, draw a path on it, apply the omino snake effect to the solid, then select the image to animate and the path it should take. Quite simple, actually. It was time to test things out.
Initial animation test — Illustrator and AE
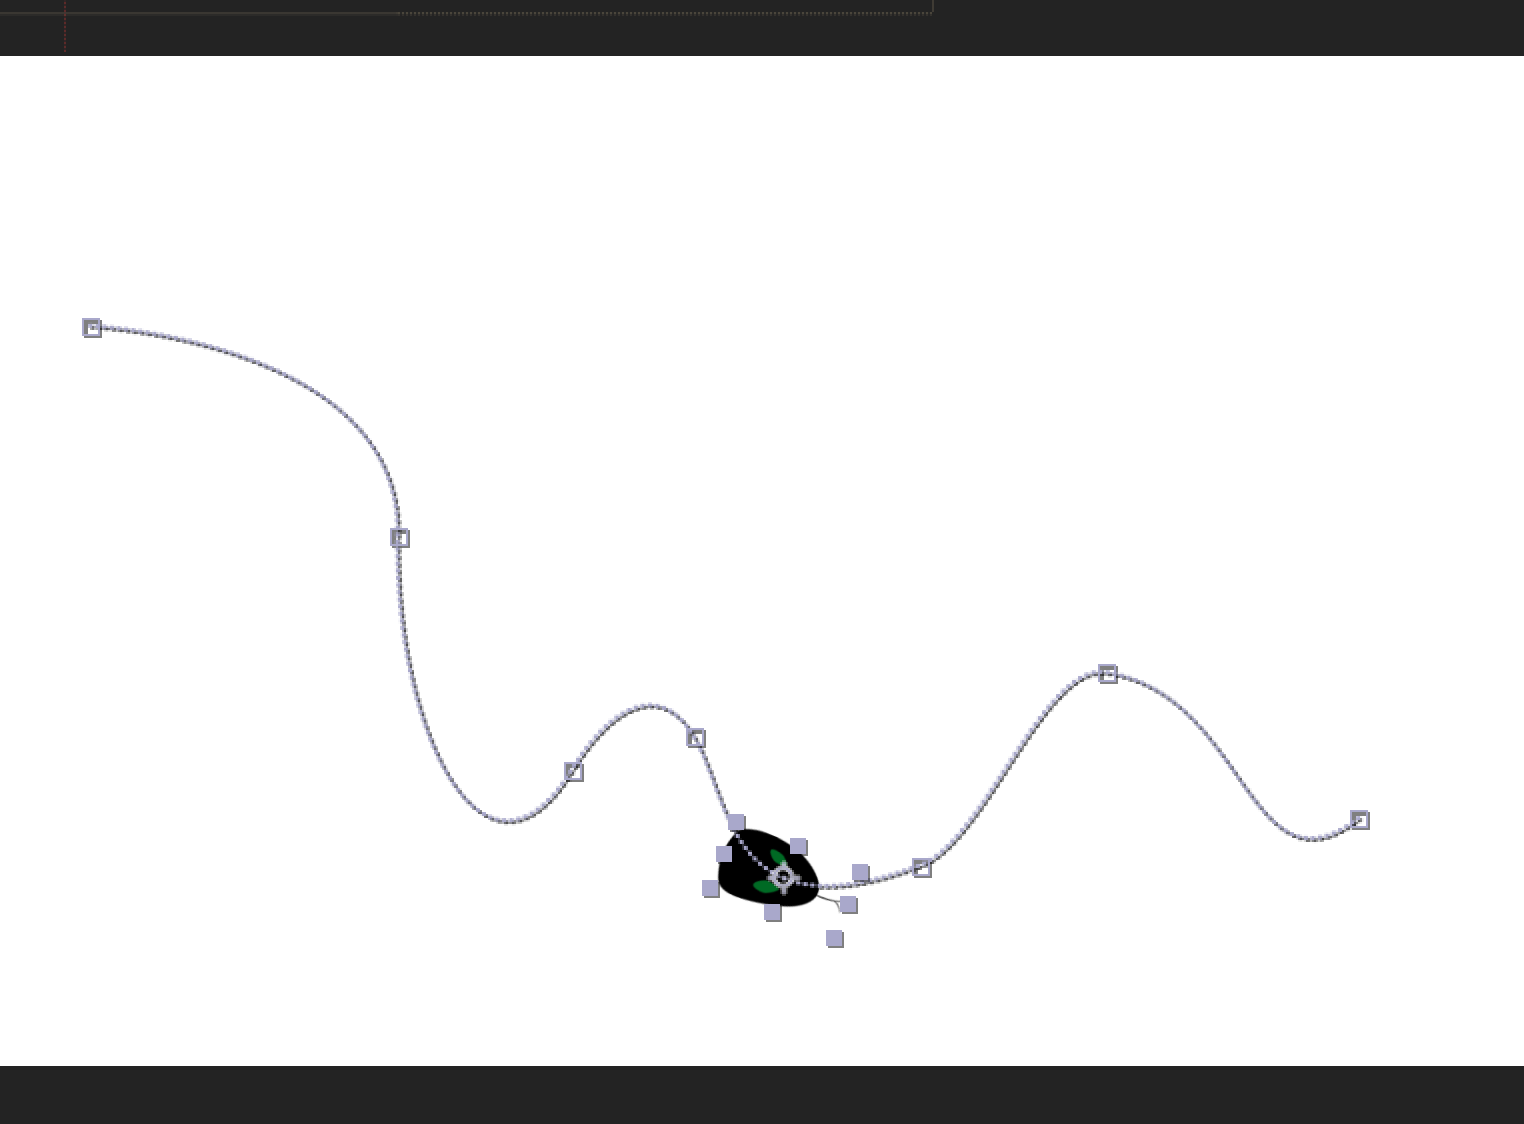
With the reference image drawn by our artist, I made a simple vector of the snake in Illustrator without any texture first, just to test out the animation. From the omino snake tutorial video, the image had to be a straight line.
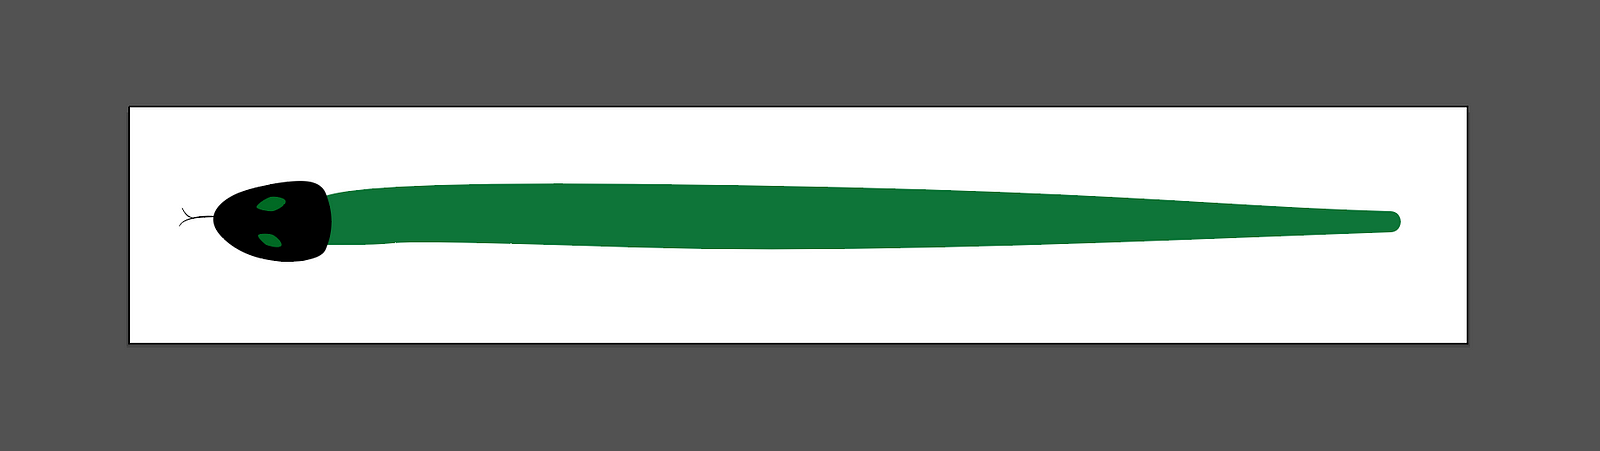
I imported it into After Effects and drew the path of motion I wanted the snake to take, with lots of curves, and applied the omino snake effect. Hey presto! It works! But there were some noticeably strange parts about it, specifically the head —
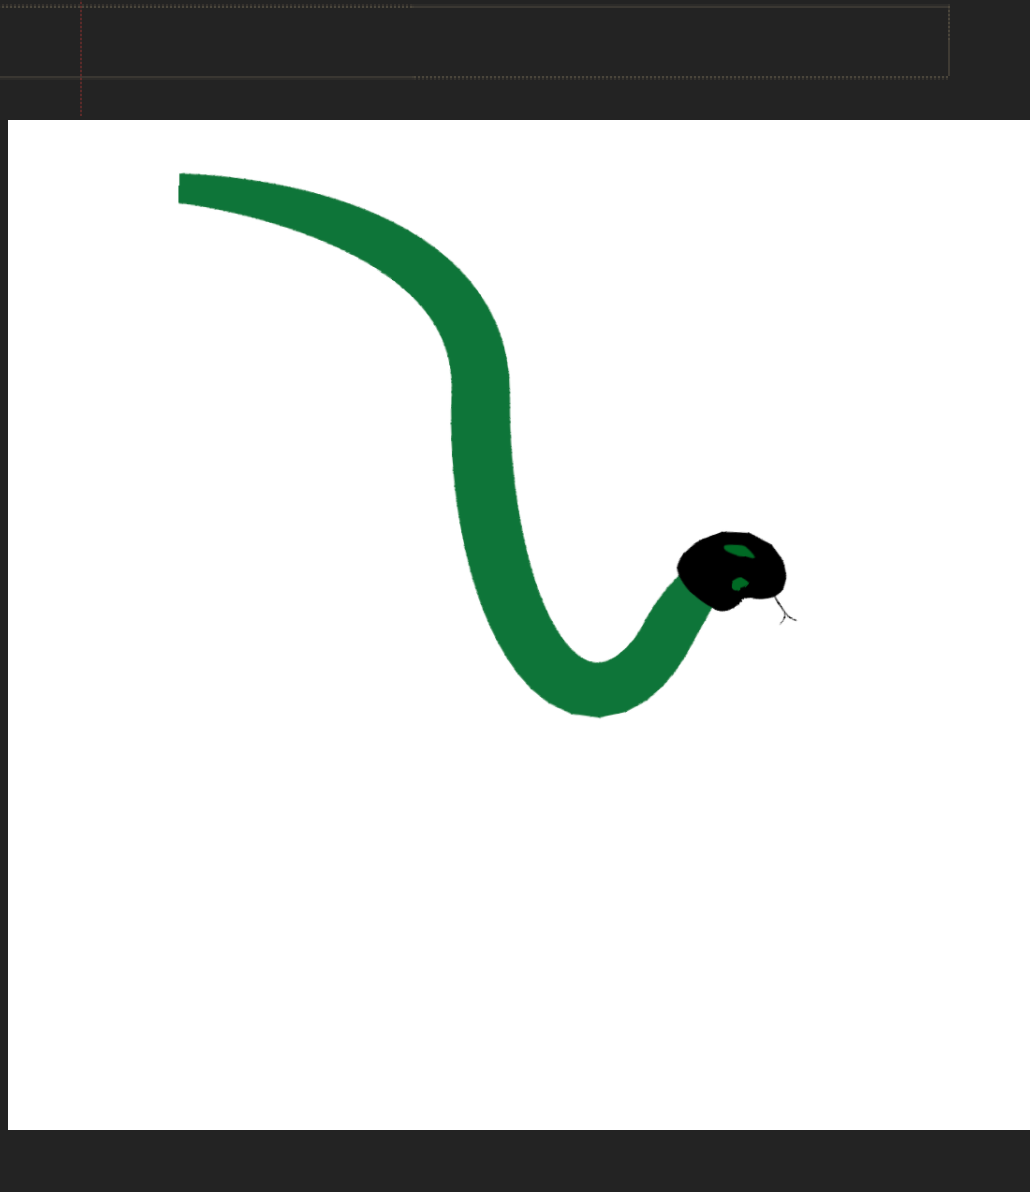
The effect bent the head as well, and it looks really strange.
This meant that I needed to animate the head and body separately. The head was relatively easy, I just had to copy the same path and paste it into the head layer’s position, so that it would follow the same path. I oriented it so that the head would rotate in the correct position along the path. (Right-click > Transform > Auto-orient.) Then, I put the head and the body side by side and played their animations together, and as long as their speed and starting/ending positions were accurate, they moved in perfect sync.
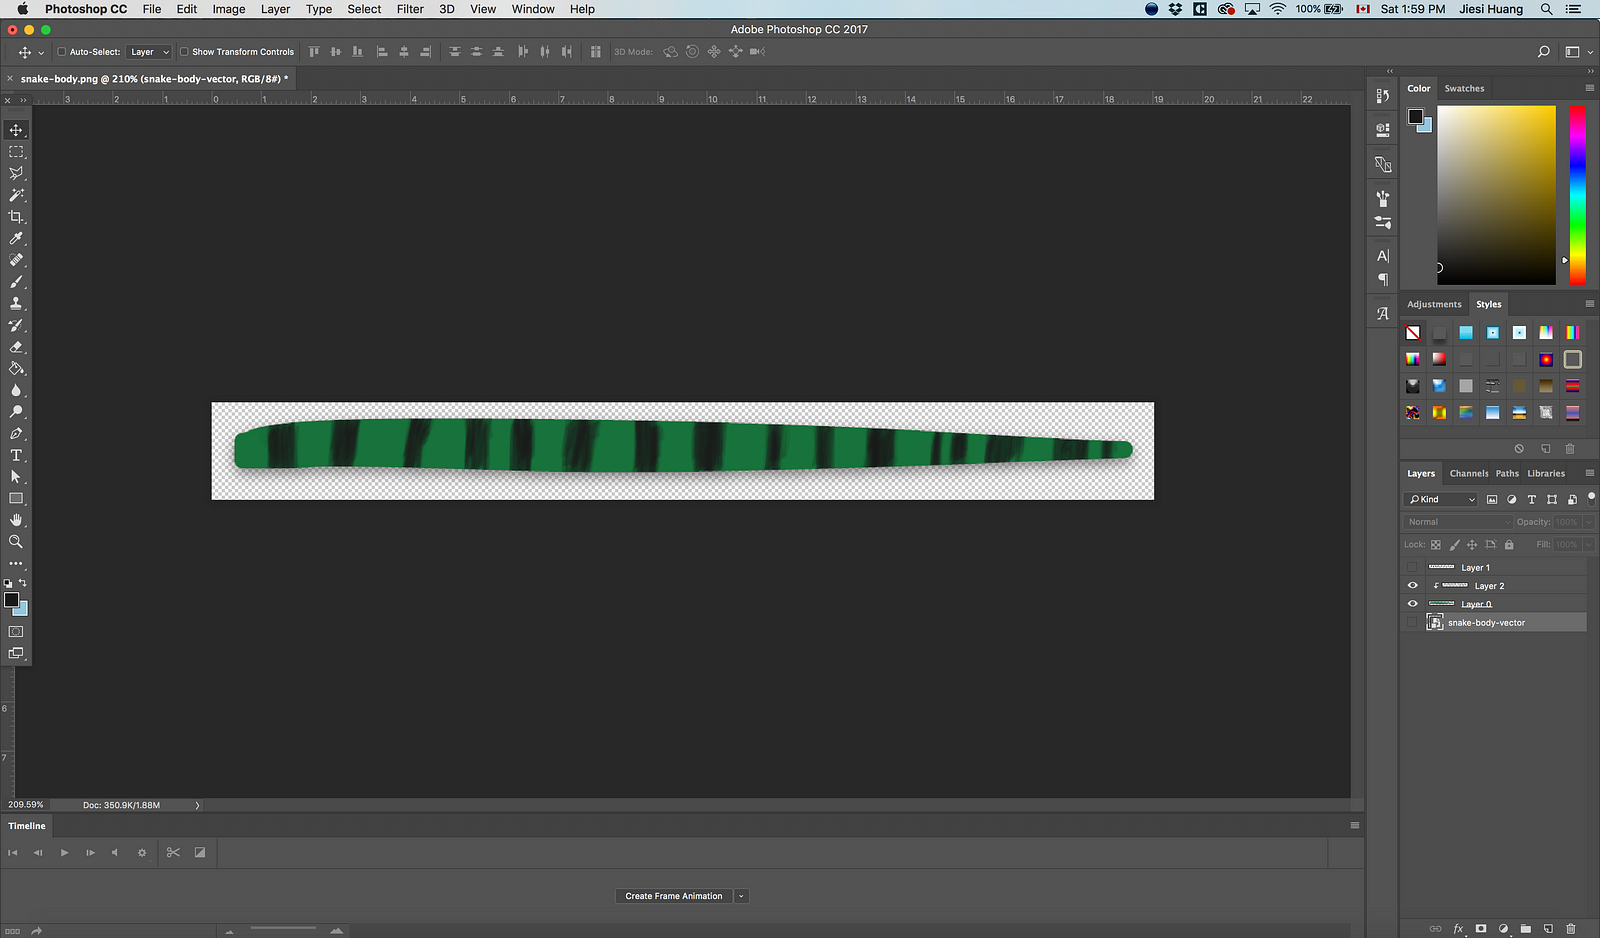
Adding details to the image and animating it — Photoshop and AE
Now I have the basics done. In the reference image, the snake has stripes that looks like they were painted on, and it has a shadow as well. I applied a drop shadow effect in Illustrator, and moved the image into Photoshop to paint the stripes. I used the green body as a clipping mask, so I didn’t have to bother about ‘colouring out of the line’.
With that done, I put it into After Effects again, and simply replaced the previously untextured body with this new image. I had an unexpected problem.
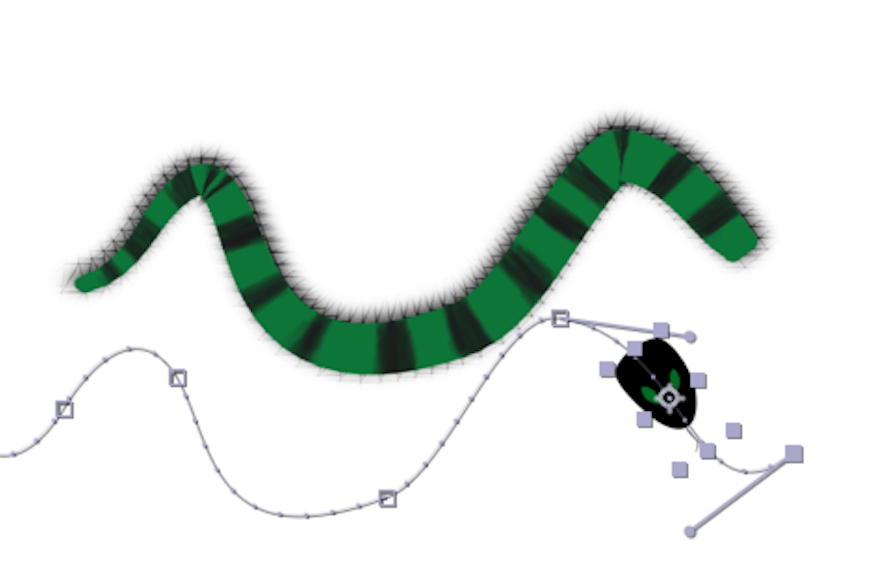
What were those hairy things on the body? It reminded me of the meshes of 3D objects, so maybe it’s the mathematical calculations behind how Omino Snake works. It was showing through the half-transparent shadow though, and that was of course not ideal. So I decided to leave the drop shadow out till later.
I proceeded with shaping the path of the snake, keeping in mind that the last frame of the snake needed to match with the first frame so that it would loop smoothly.

Now I had a very convincing snake body animation. But, the snake was moving across the screen, and what I needed for the game was a sprite that would animate without actually travelling. I wasn’t done yet. I needed to test how it looks like when it wriggles on the spot.
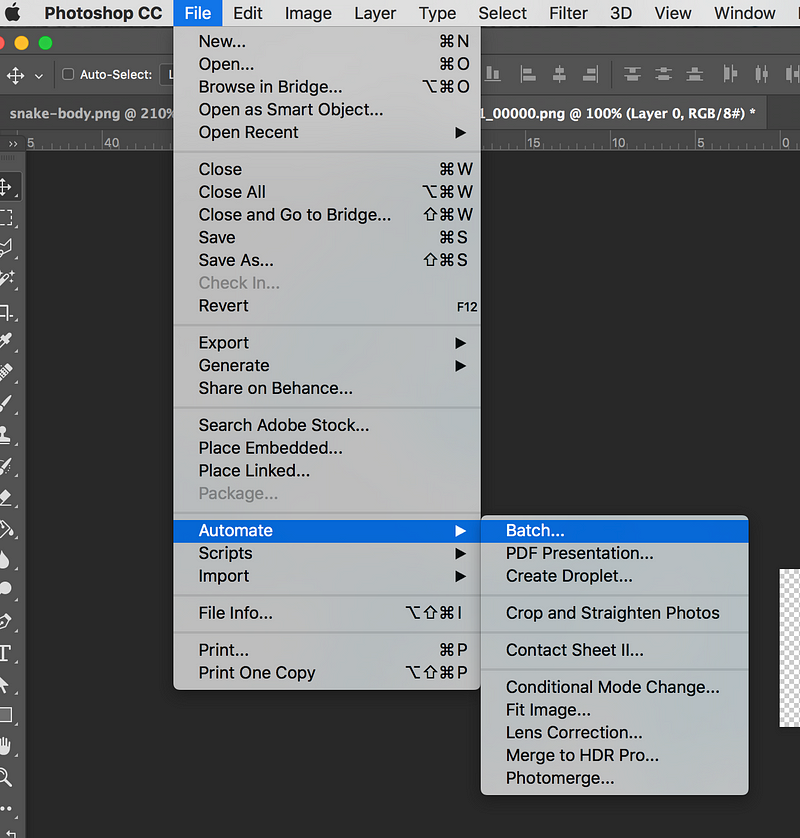
Turning the animation into a sprite — Export from AE into images and batch trim them in Photoshop
I exported the animation from After Effects into a png sequence. This gave me a folder of images — one for every frame of the snake.
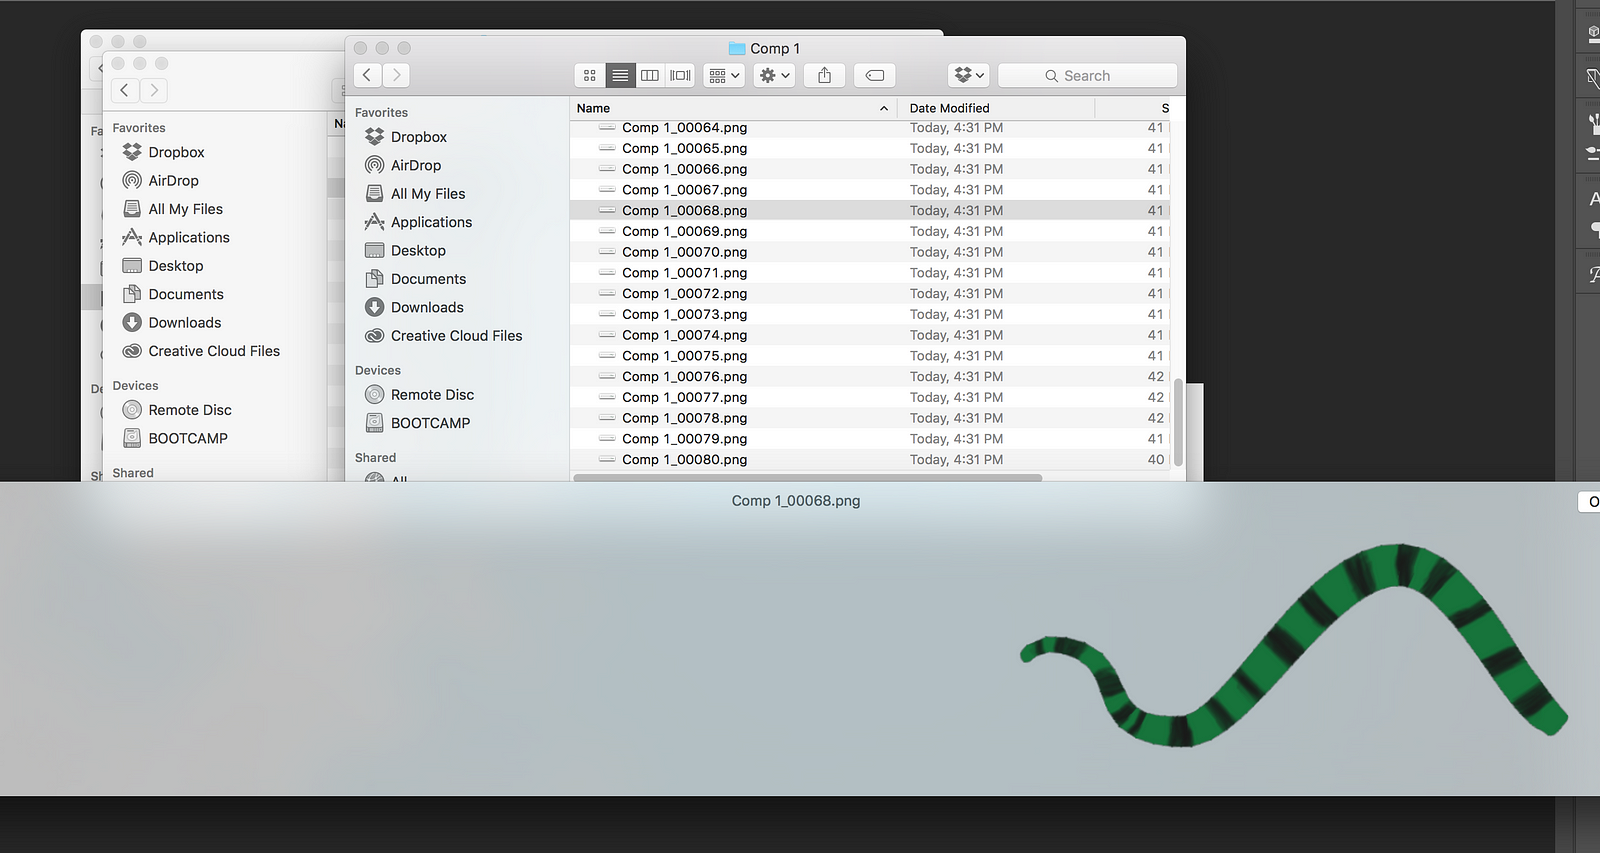
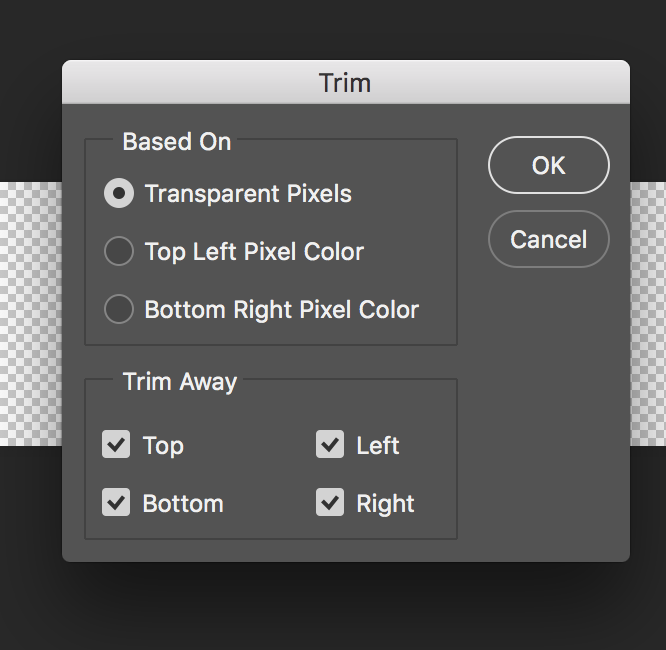
I needed the snake to move in place, and the way of doing so was to trim away the transparent parts of each image so that when I put all the images together, the snake would just be wriggling in place.
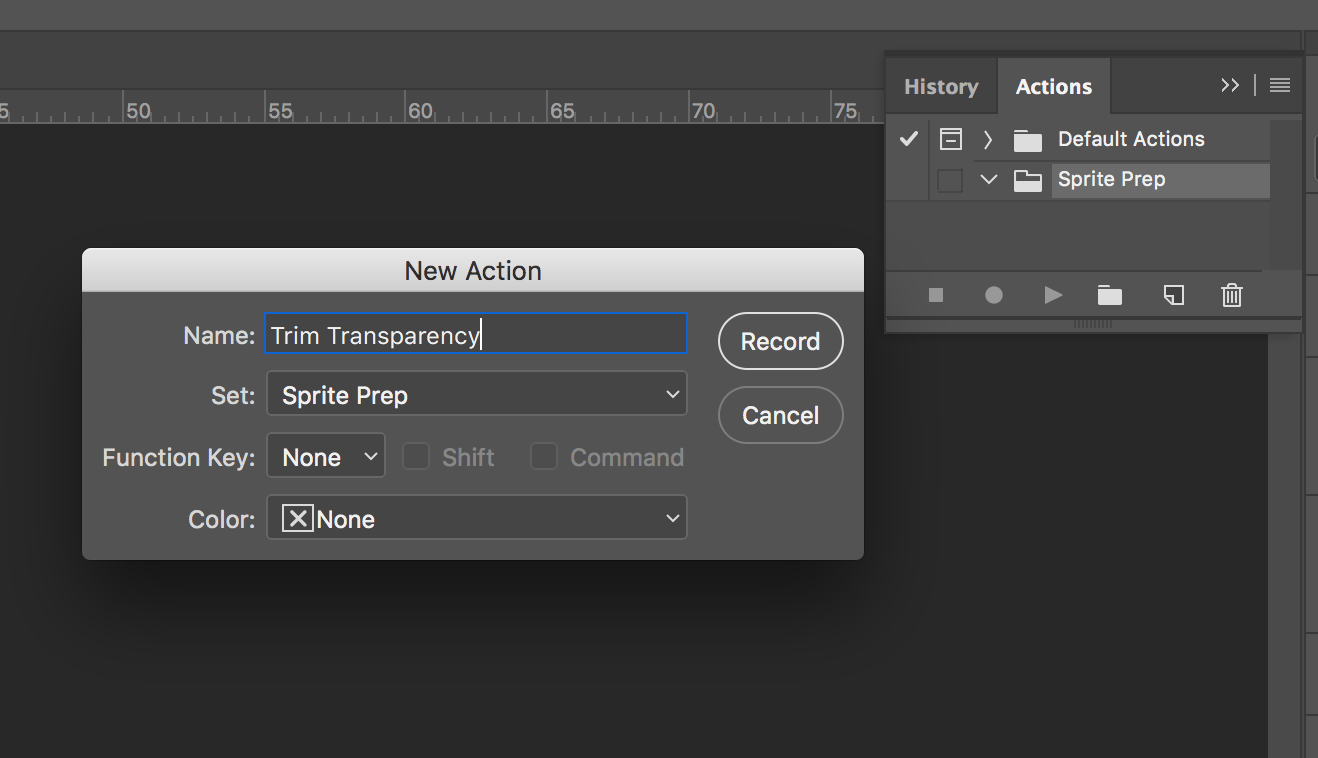
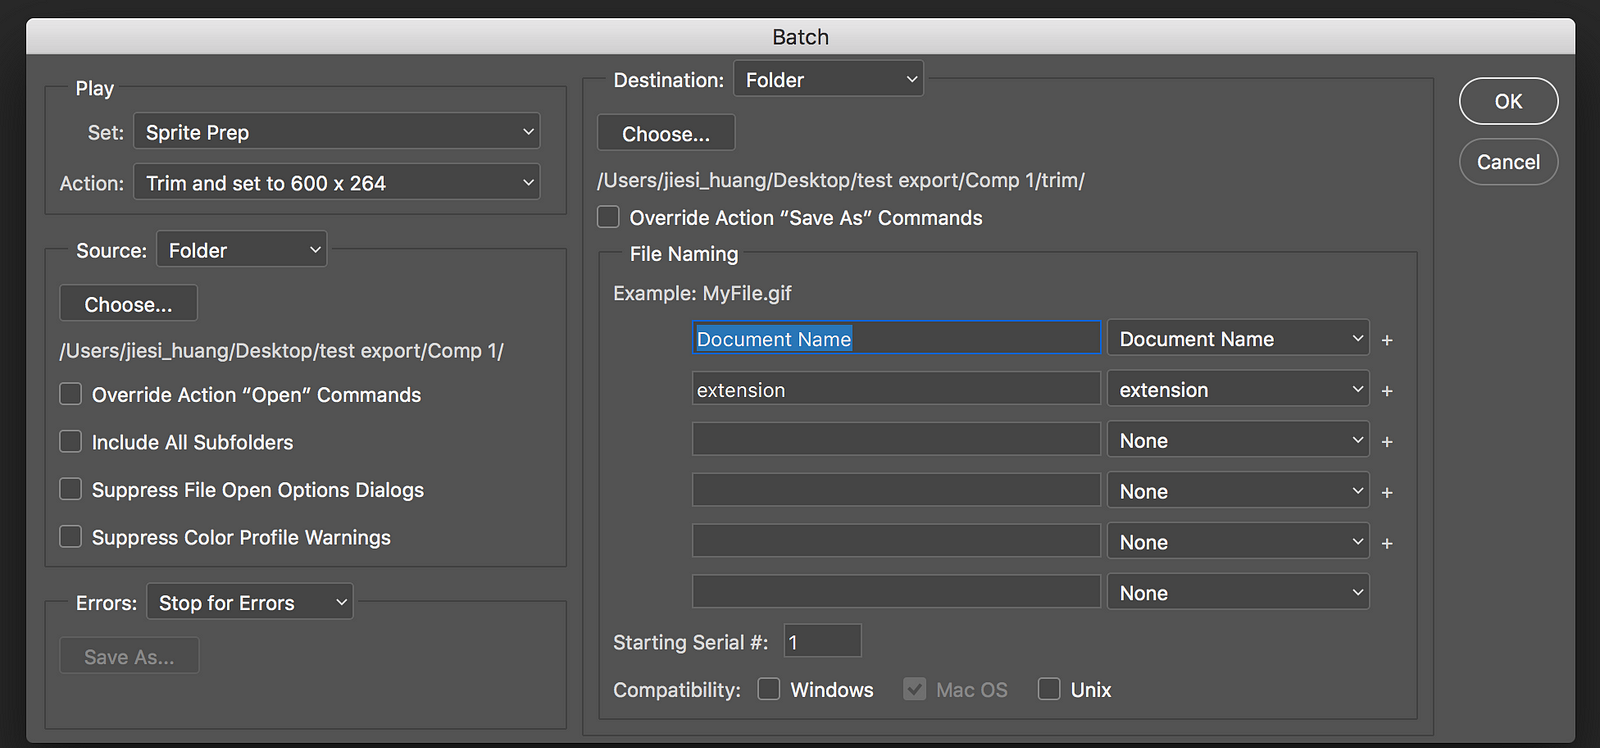
Luckily, Photoshop has a function that does just that. And double lucky, we can record actions in Photoshop and apply the same set of actions to all the images in a folder without manually doing them one by one. I needed all of them to be the same size as well, and that was easily done by going to Image > Canvas Size and specifying the width and height. Now I just had to ensure that the canvas size was larger than the snake, as I could trim it down to the final size later on. Next, I anchored the resizing to the right side so that the head of the snake would be at the right edge in all the images. I then applied the batch actions to all the images.
Scrubbing through the images generated already gives me a good idea of how the animation will look like.
Final adjustments and Photoshop script for converting layers into a sprite sheet
The body was moving too much, so I adjusted the path. After that, I added one more action to my Photoshop batch action — drop shadow, the one I had taken out from Illustrator earlier. I also added the final piece: the head, and re-exported the png sequence from After Effects. Finally, I applied the Photoshop batch actions that I had defined earlier to this new folder.
With that done, all that was needed was to put the processed and trimmed images into a sprite sheet. I found a Photoshop script (layersToSprite.jsx) that generates a sprite sheet from layers, made by Zak Zidik and modified by Ryan Hill. The script can be downloaded here.
First, I used “Load Files into Stack” in order to open all my processed files as a series of Photoshop layers. To minimize the size of the sprites, I used Trim Transparency again after all the images have been loaded.
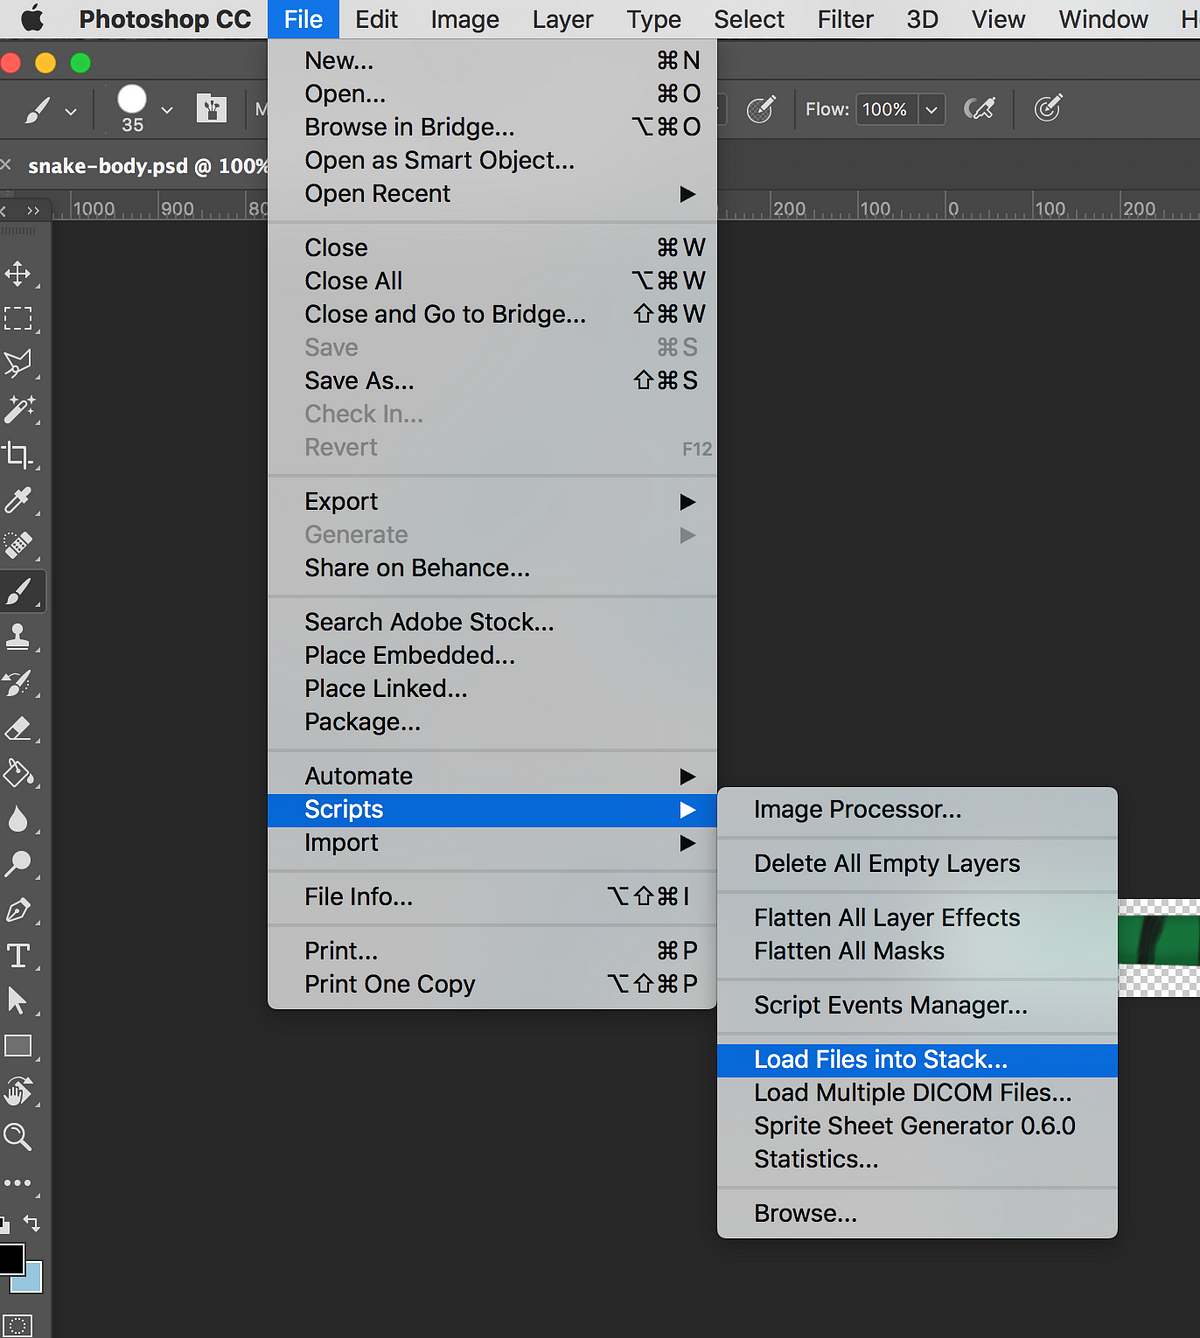

Do note that the script generates the sprite sheet in reverse order of layers, i.e., Frame 1 should be the lowest layer. To reverse the order, just go to Layer > Arrange > Reverse.
Then, I used the script to generate the sprite sheet from these layers. The space at the right is added by the script, but to get rid of that, I can just repeat the Trim Transparency function.
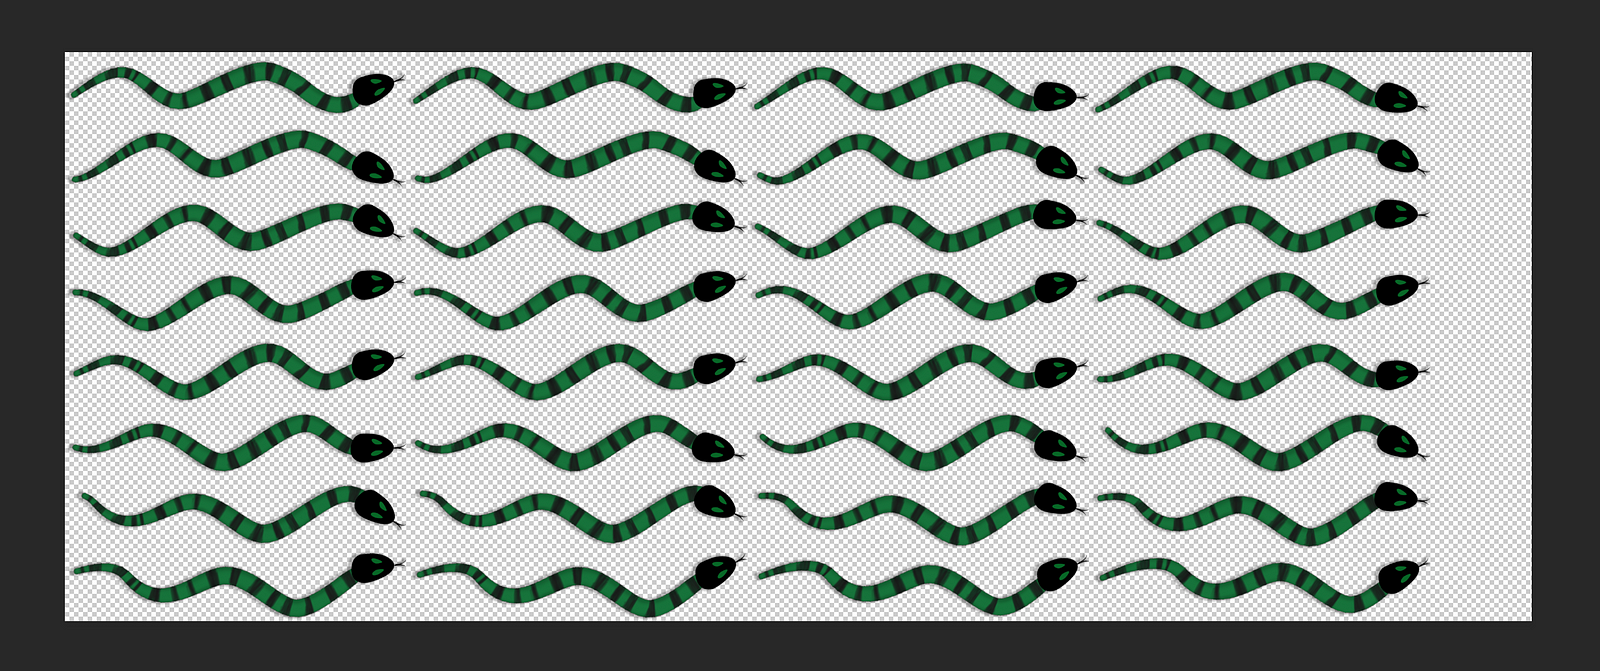
The final animation.
I still have things to refine further, especially in matching up the first and last frames, but the workflow has been worked out:
- Create the vector shapes in Illustrator
- Bring it into Photoshop to apply some of the texture
- Animate in After Effects, and export to image sequences
- Batch process the image files in Photoshop to trim them and/or add more textures
- Generate a sprite sheet from the images in Photoshop
And that’s how the snake animation is made. I’ll be checking out for now, but I’ll probably be back with more animation tricks when I work on the other assets!